Prerequisites
- Synthetiq installed, signed in, and your Claude API key saved (see Set Up Synthetiq and Set Your API Key)
- Access credentials for the external system you want to connect (for this tutorial, a Snowflake account identifier, username, and password)
Steps
Describe the service you want
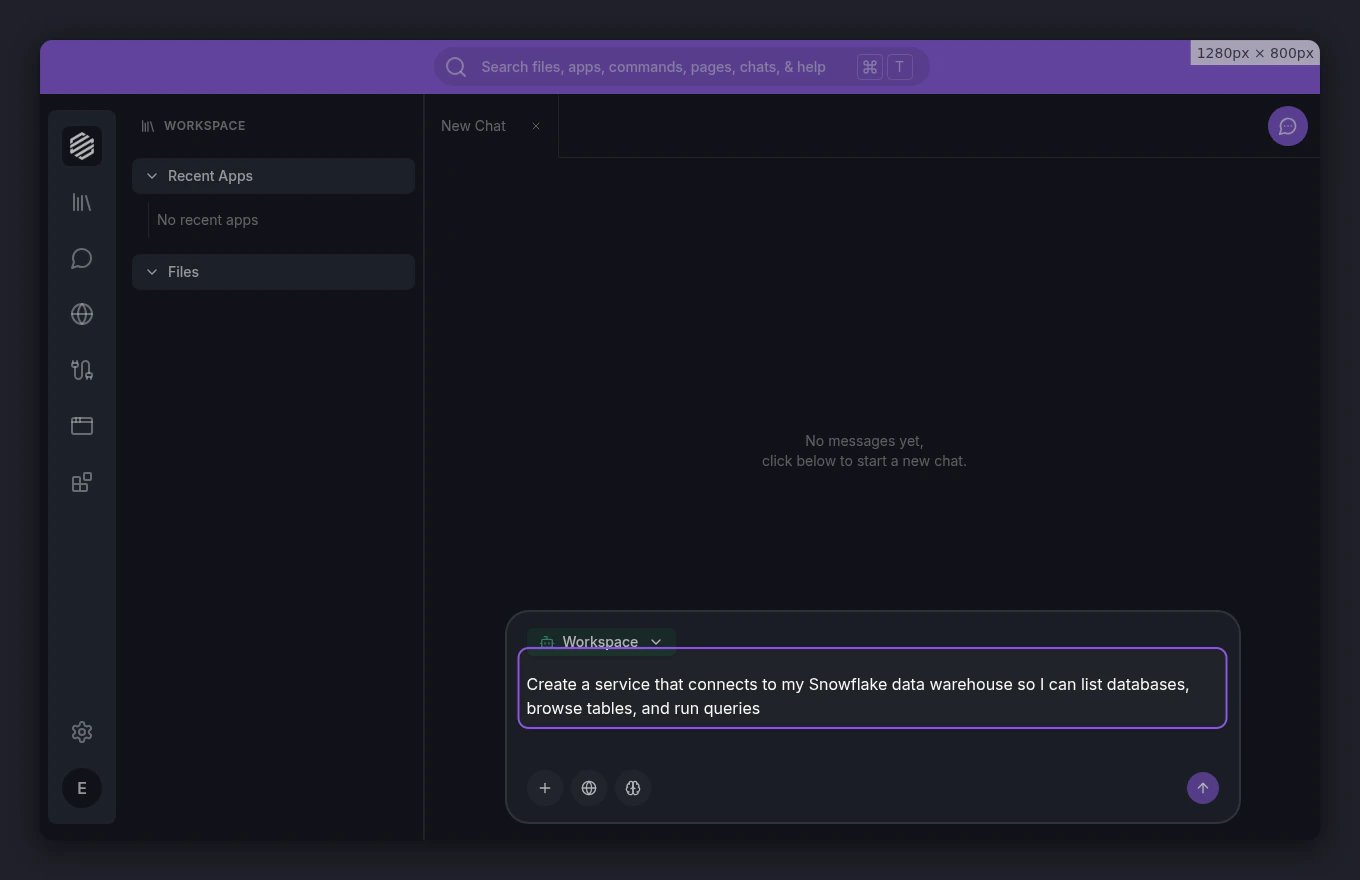
Type a description of your service into the chat. Include the system you want to connect to and what you need it to do.For this tutorial, type: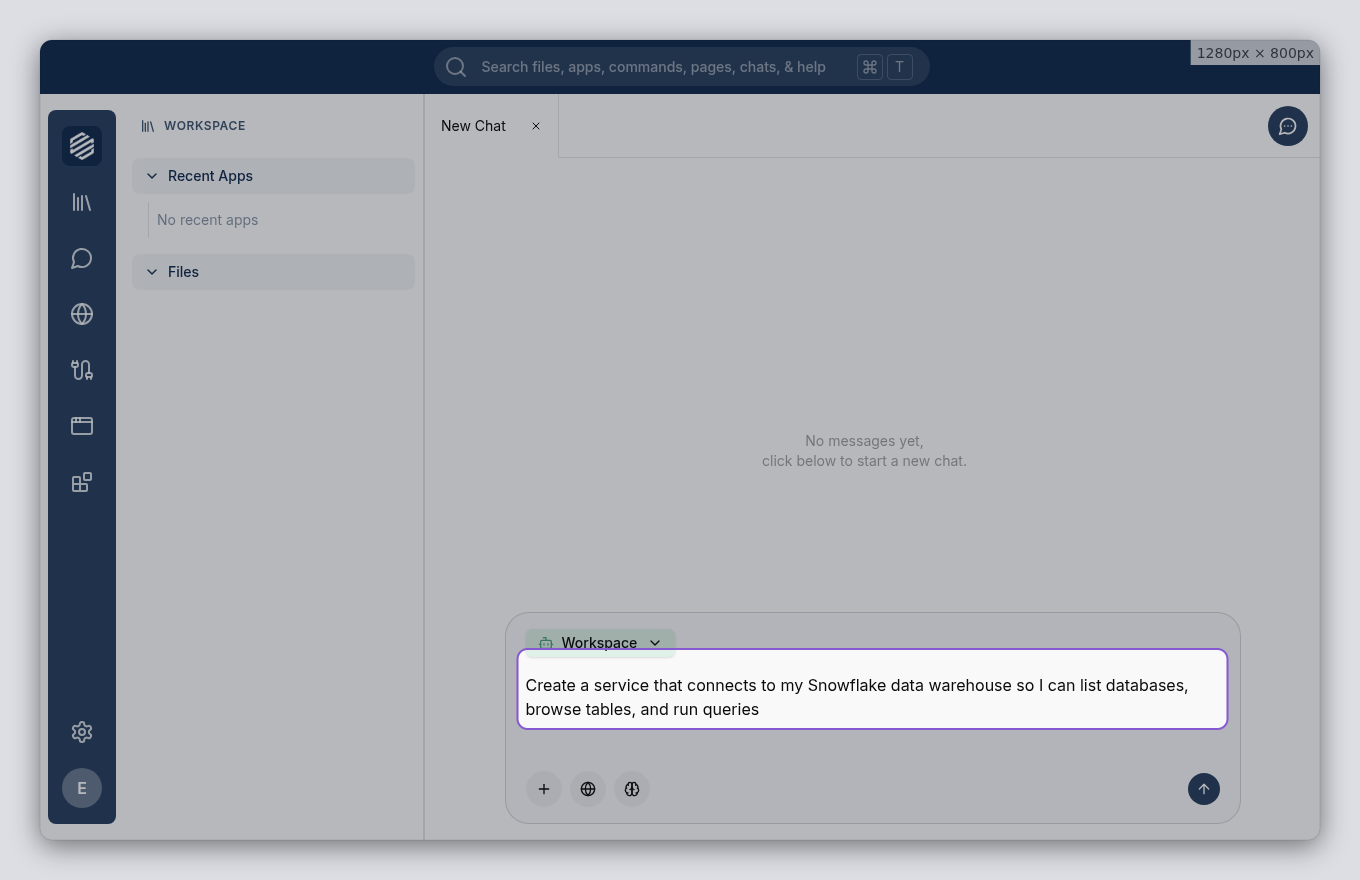
Create a service that connects to my Snowflake data warehouse so I can list databases, browse tables, and run queriesPress Enter to send your message.
Wait for the agent to switch modes
The Workspace agent recognizes that you want to build a service and hands off to the ServiceWriter agent. A mode-switch indicator appears in the chat showing the transition.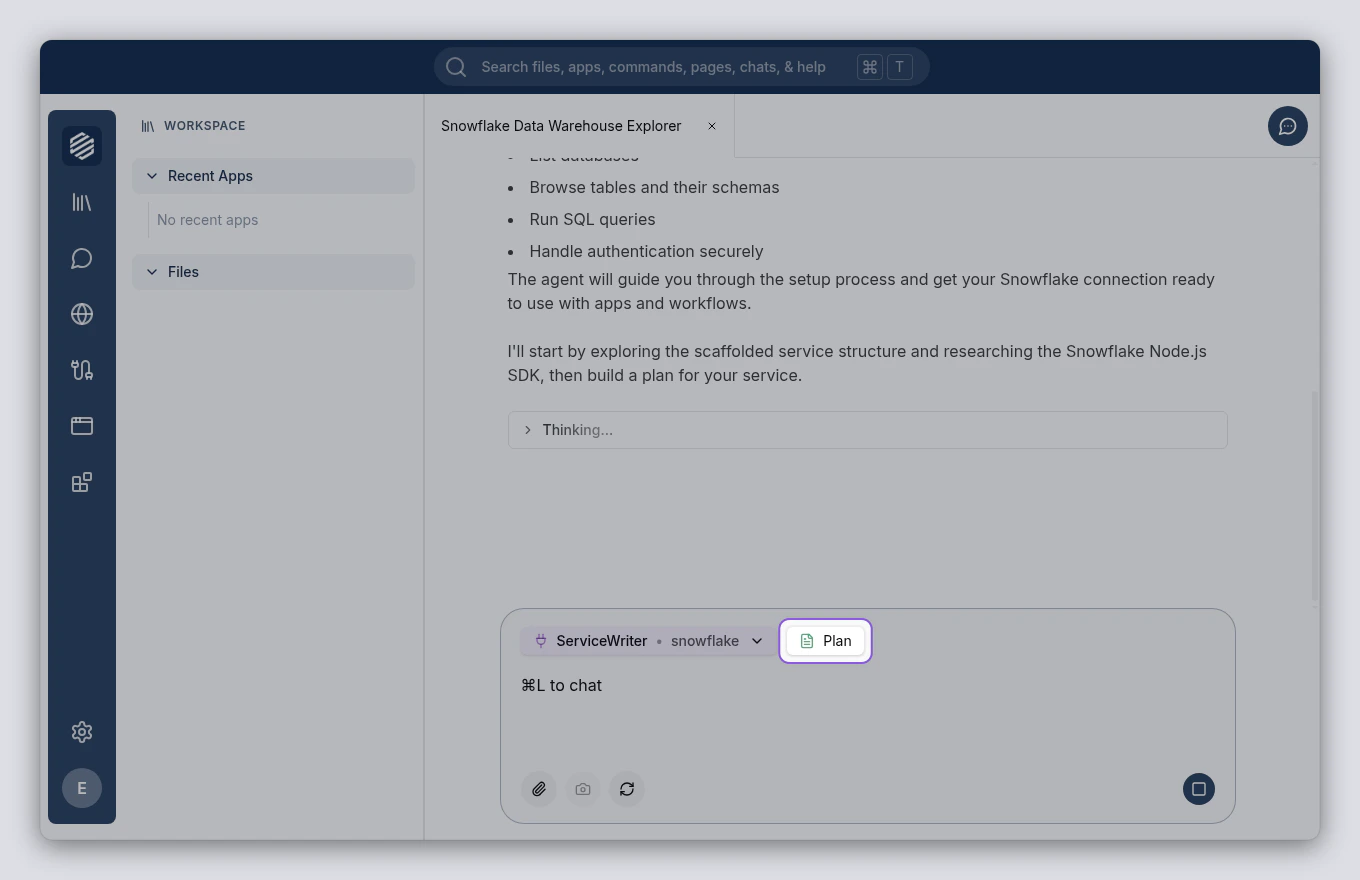
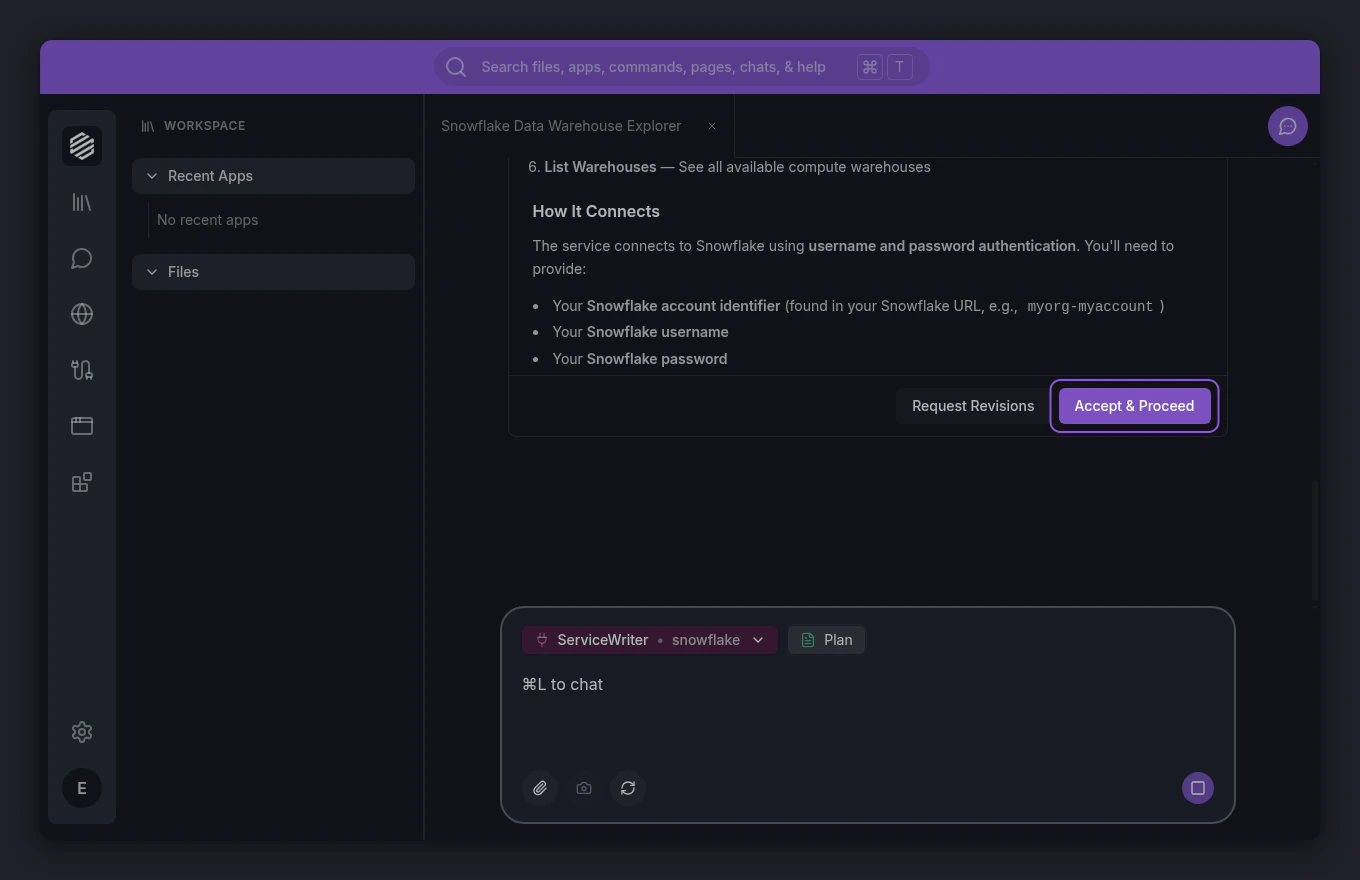
Review the plan
The ServiceWriter agent presents a plan for your service. The plan card covers the service’s tools, authentication method, and connection settings. Read through it to make sure it matches what you had in mind.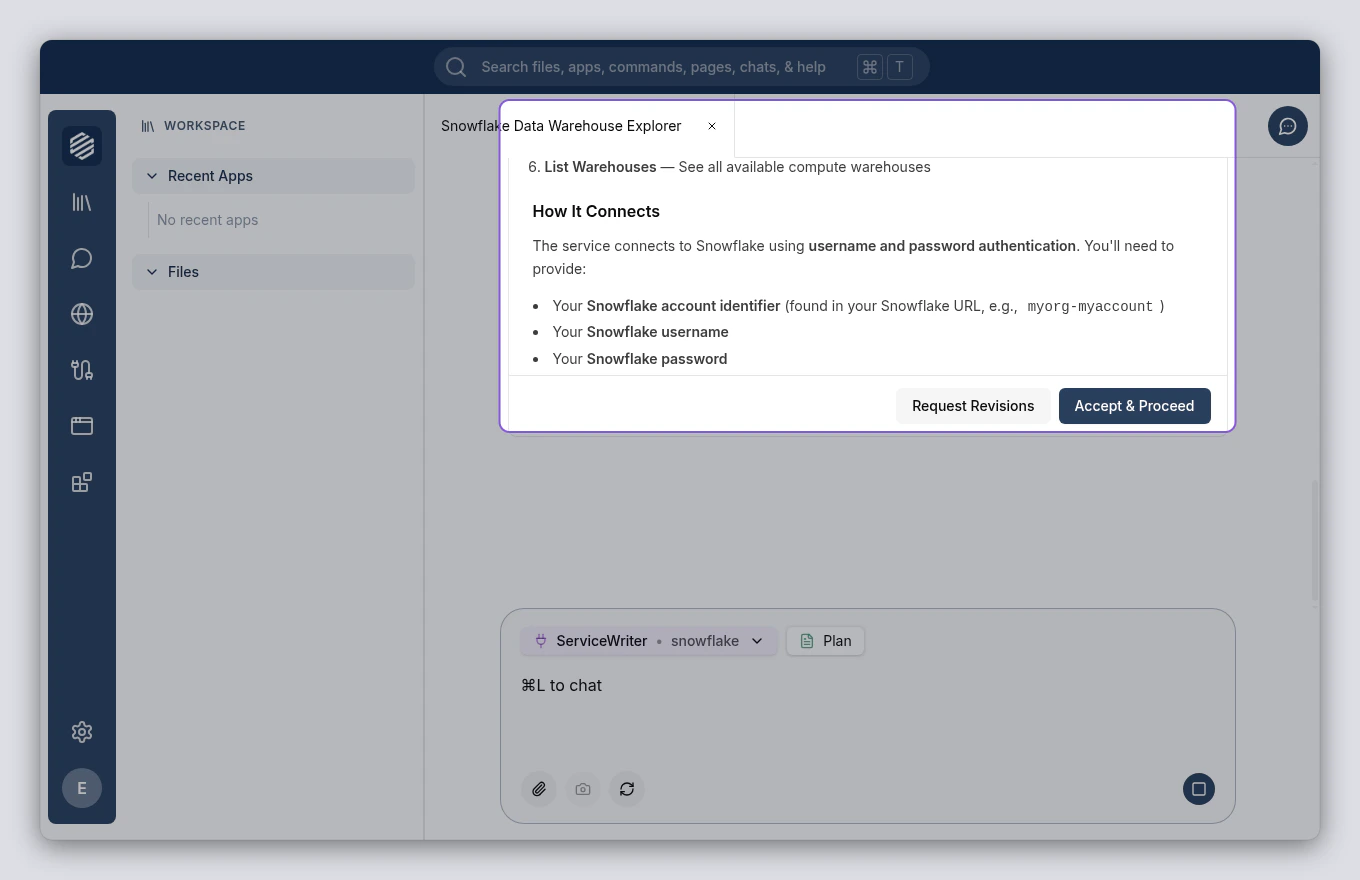
Accept the plan
If the plan looks good, click Accept & Proceed at the bottom of the plan card. The ServiceWriter agent begins building your service.If something needs changing, click Request Revisions instead and describe what you want adjusted.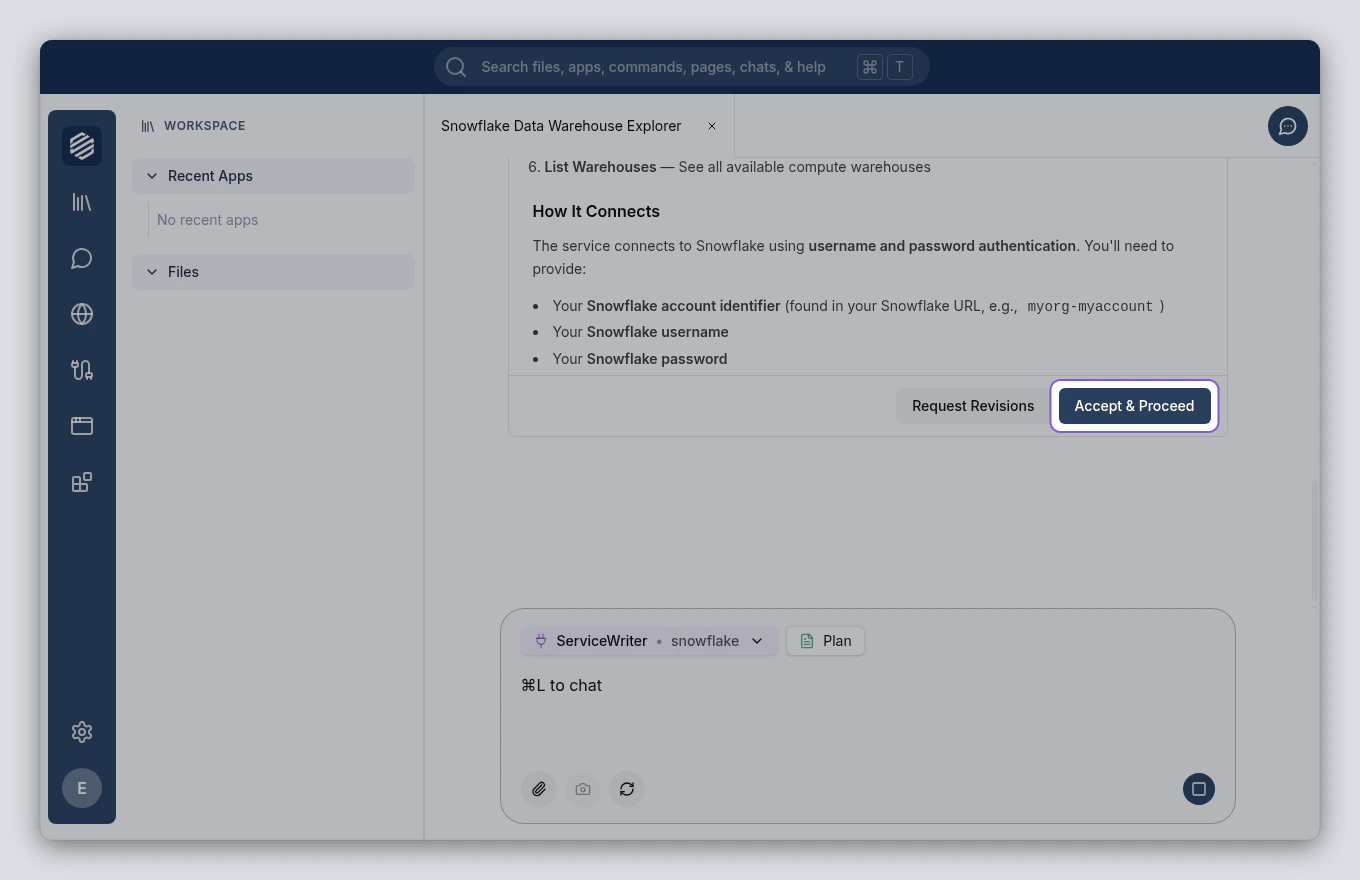
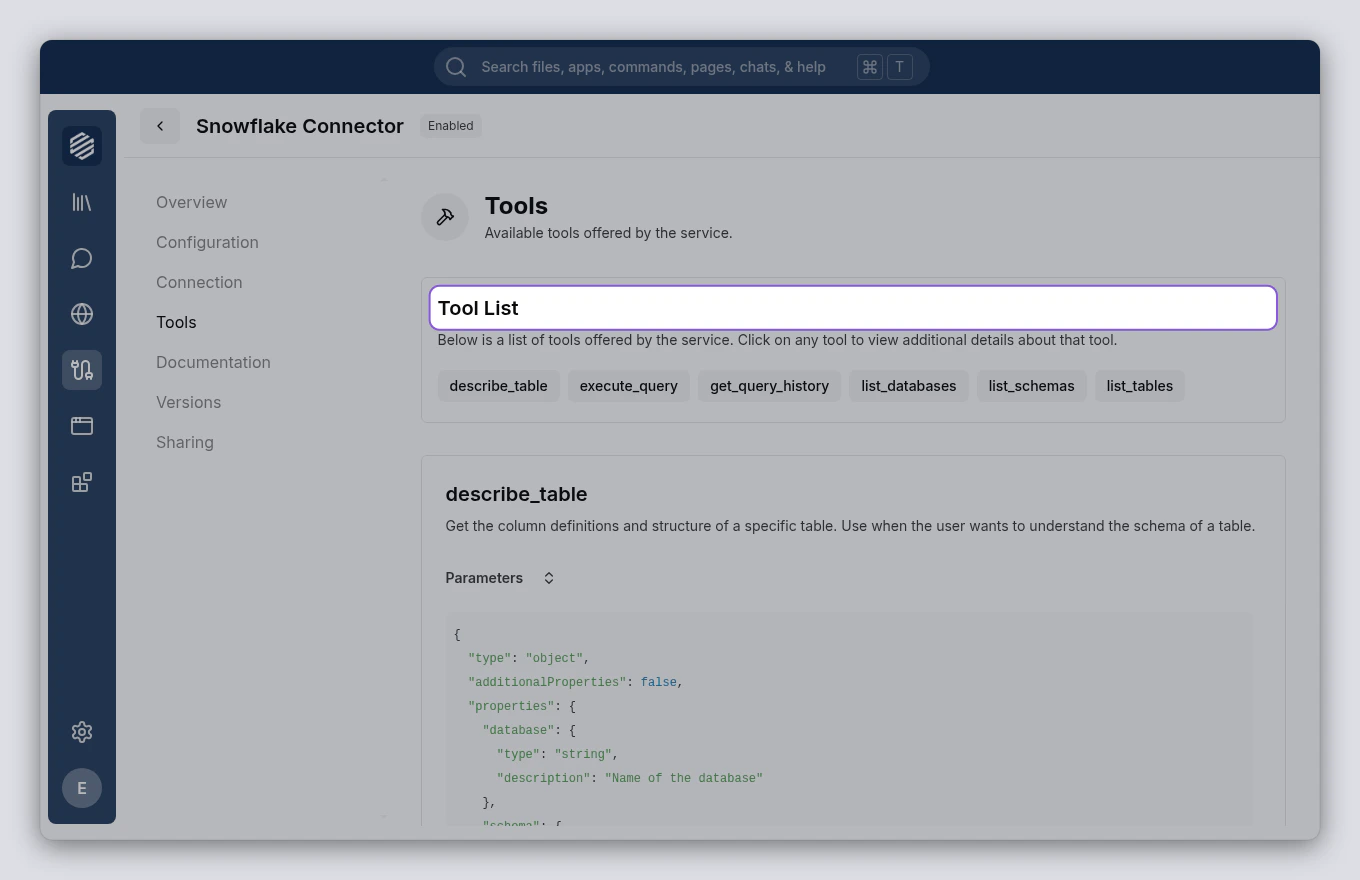
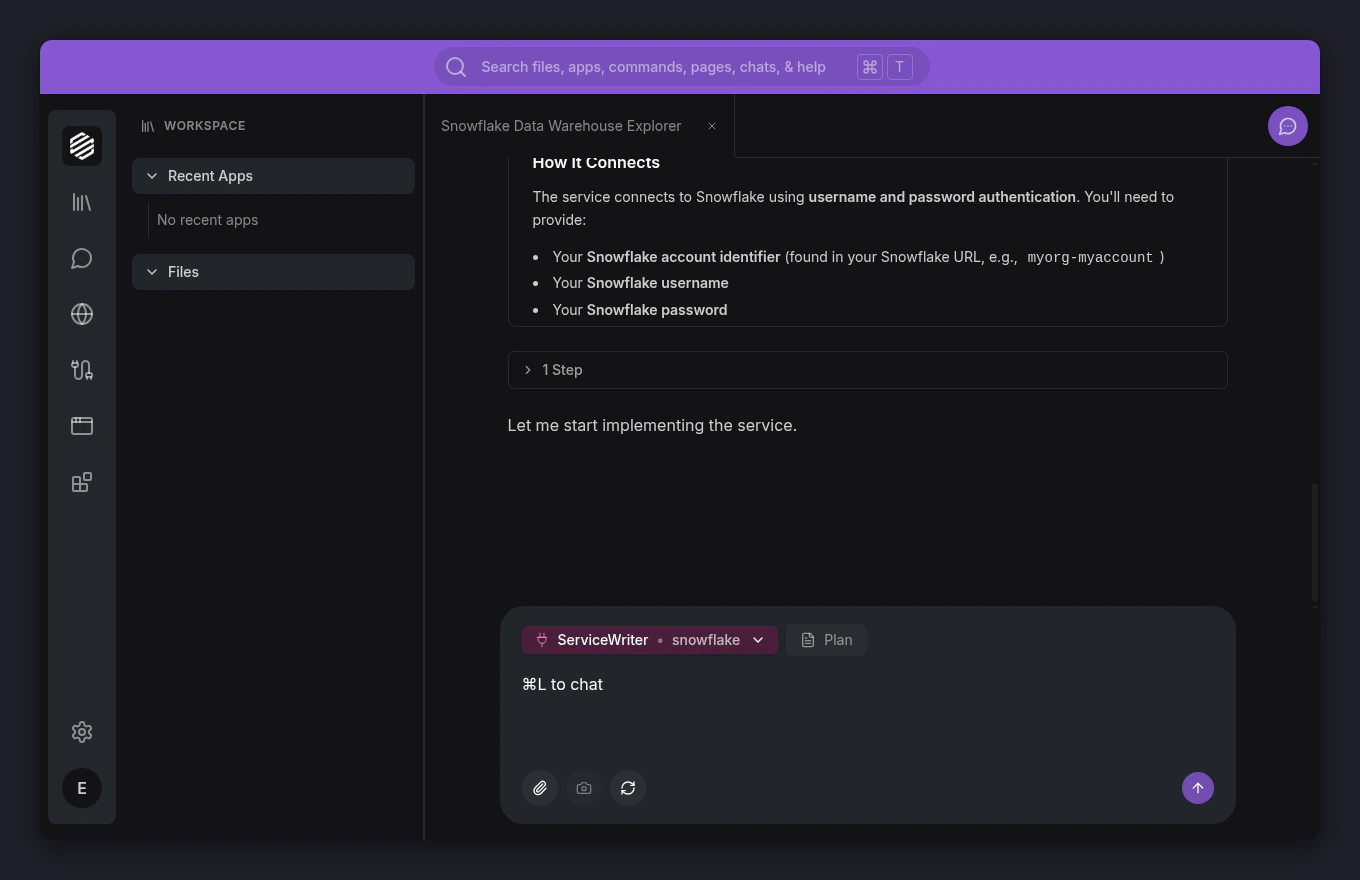
Wait for the build to finish
The ServiceWriter agent creates your service’s connection logic, tools, and authentication setup. You can watch progress as tool calls appear in the chat. This usually takes a minute or two.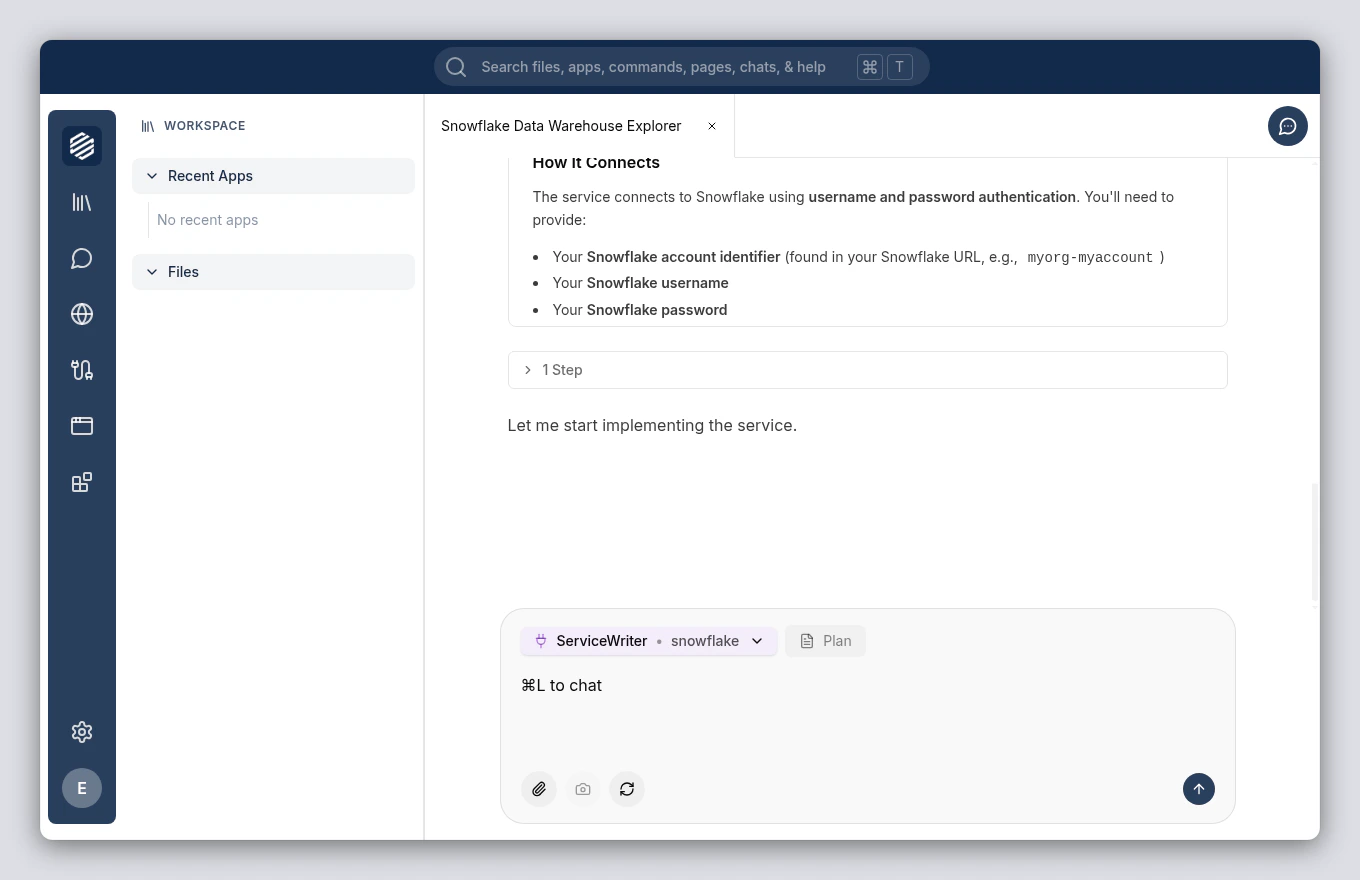
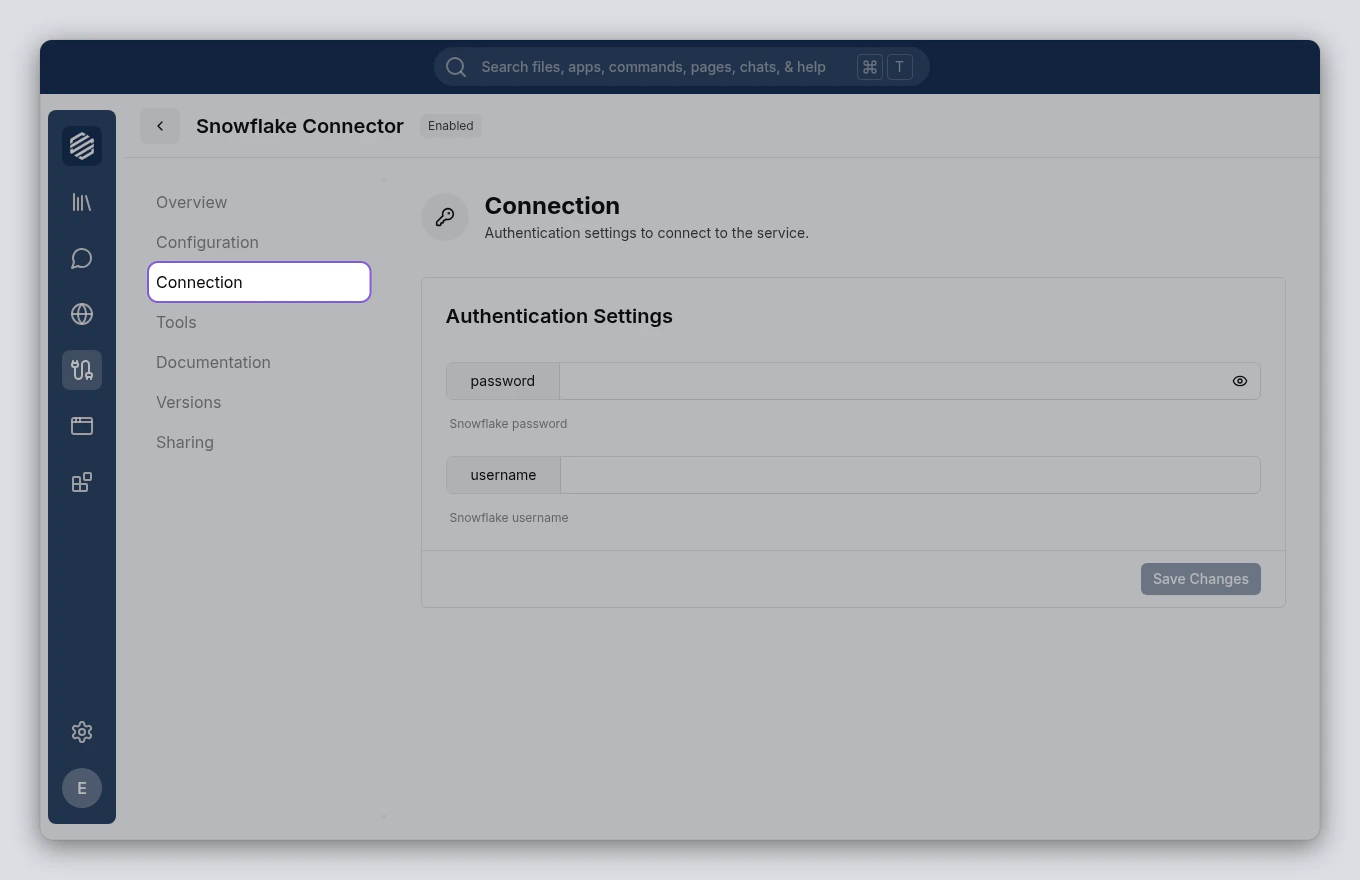
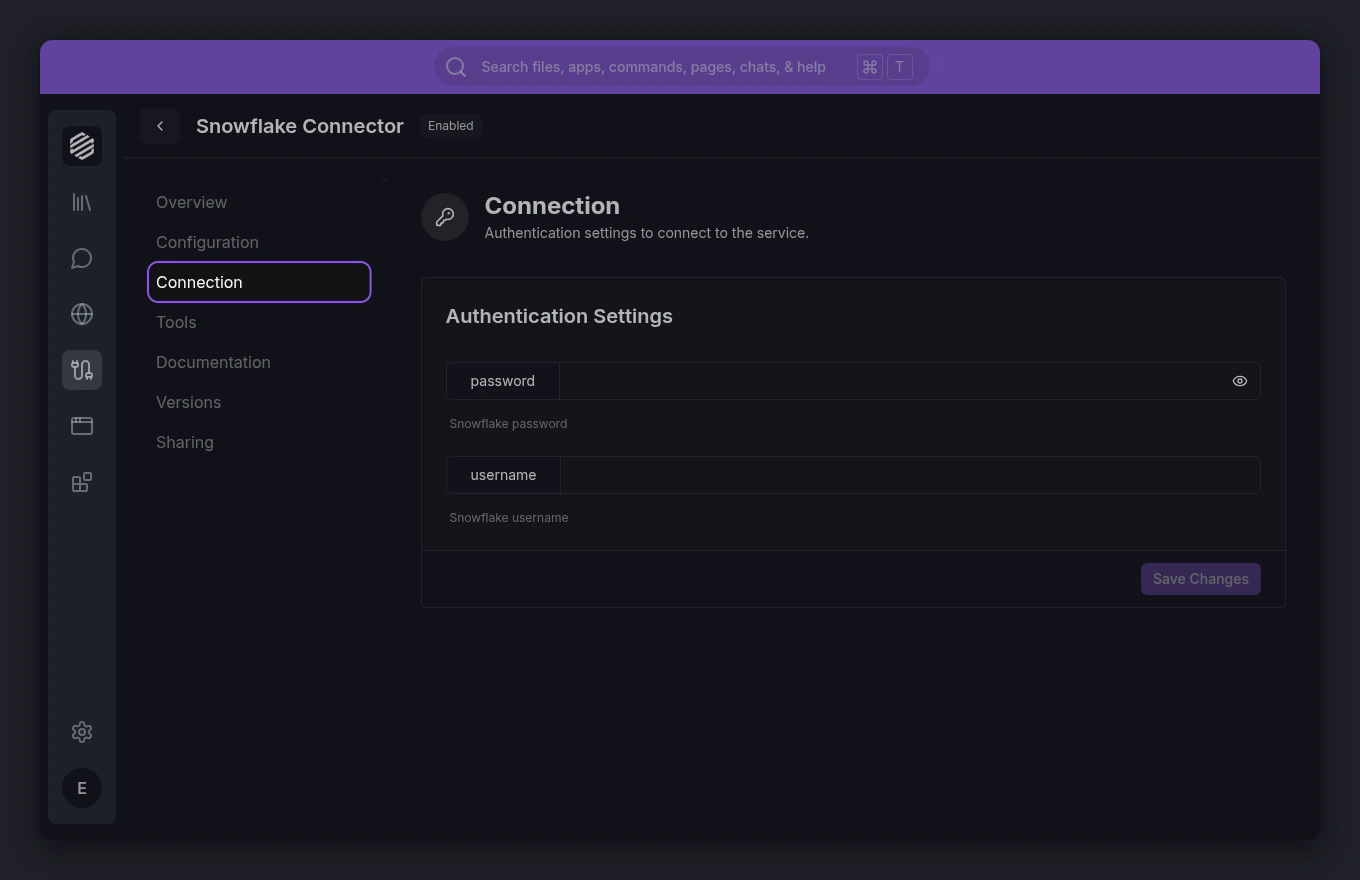
Enter your credentials
When the build finishes, open the Services panel by clicking the cable icon in the left menu. Find your new service and click it, then go to the Connection tab to enter your Snowflake credentials — account identifier, username, and password.